Quick Start Guide
Before You Begin
- Sign in on every device (tablet + phones) you plan to use.
- An internet connection is required for sign-in only.
- Once signed in, devices can work offline.
- All devices must be connected to the same Wi-Fi network.
- The Wi-Fi network does not need internet access.
- For example, you can connect everything to a small portable Wi-Fi router and use it anywhere.
Quick Start Steps
Step 1 – Launch a Session
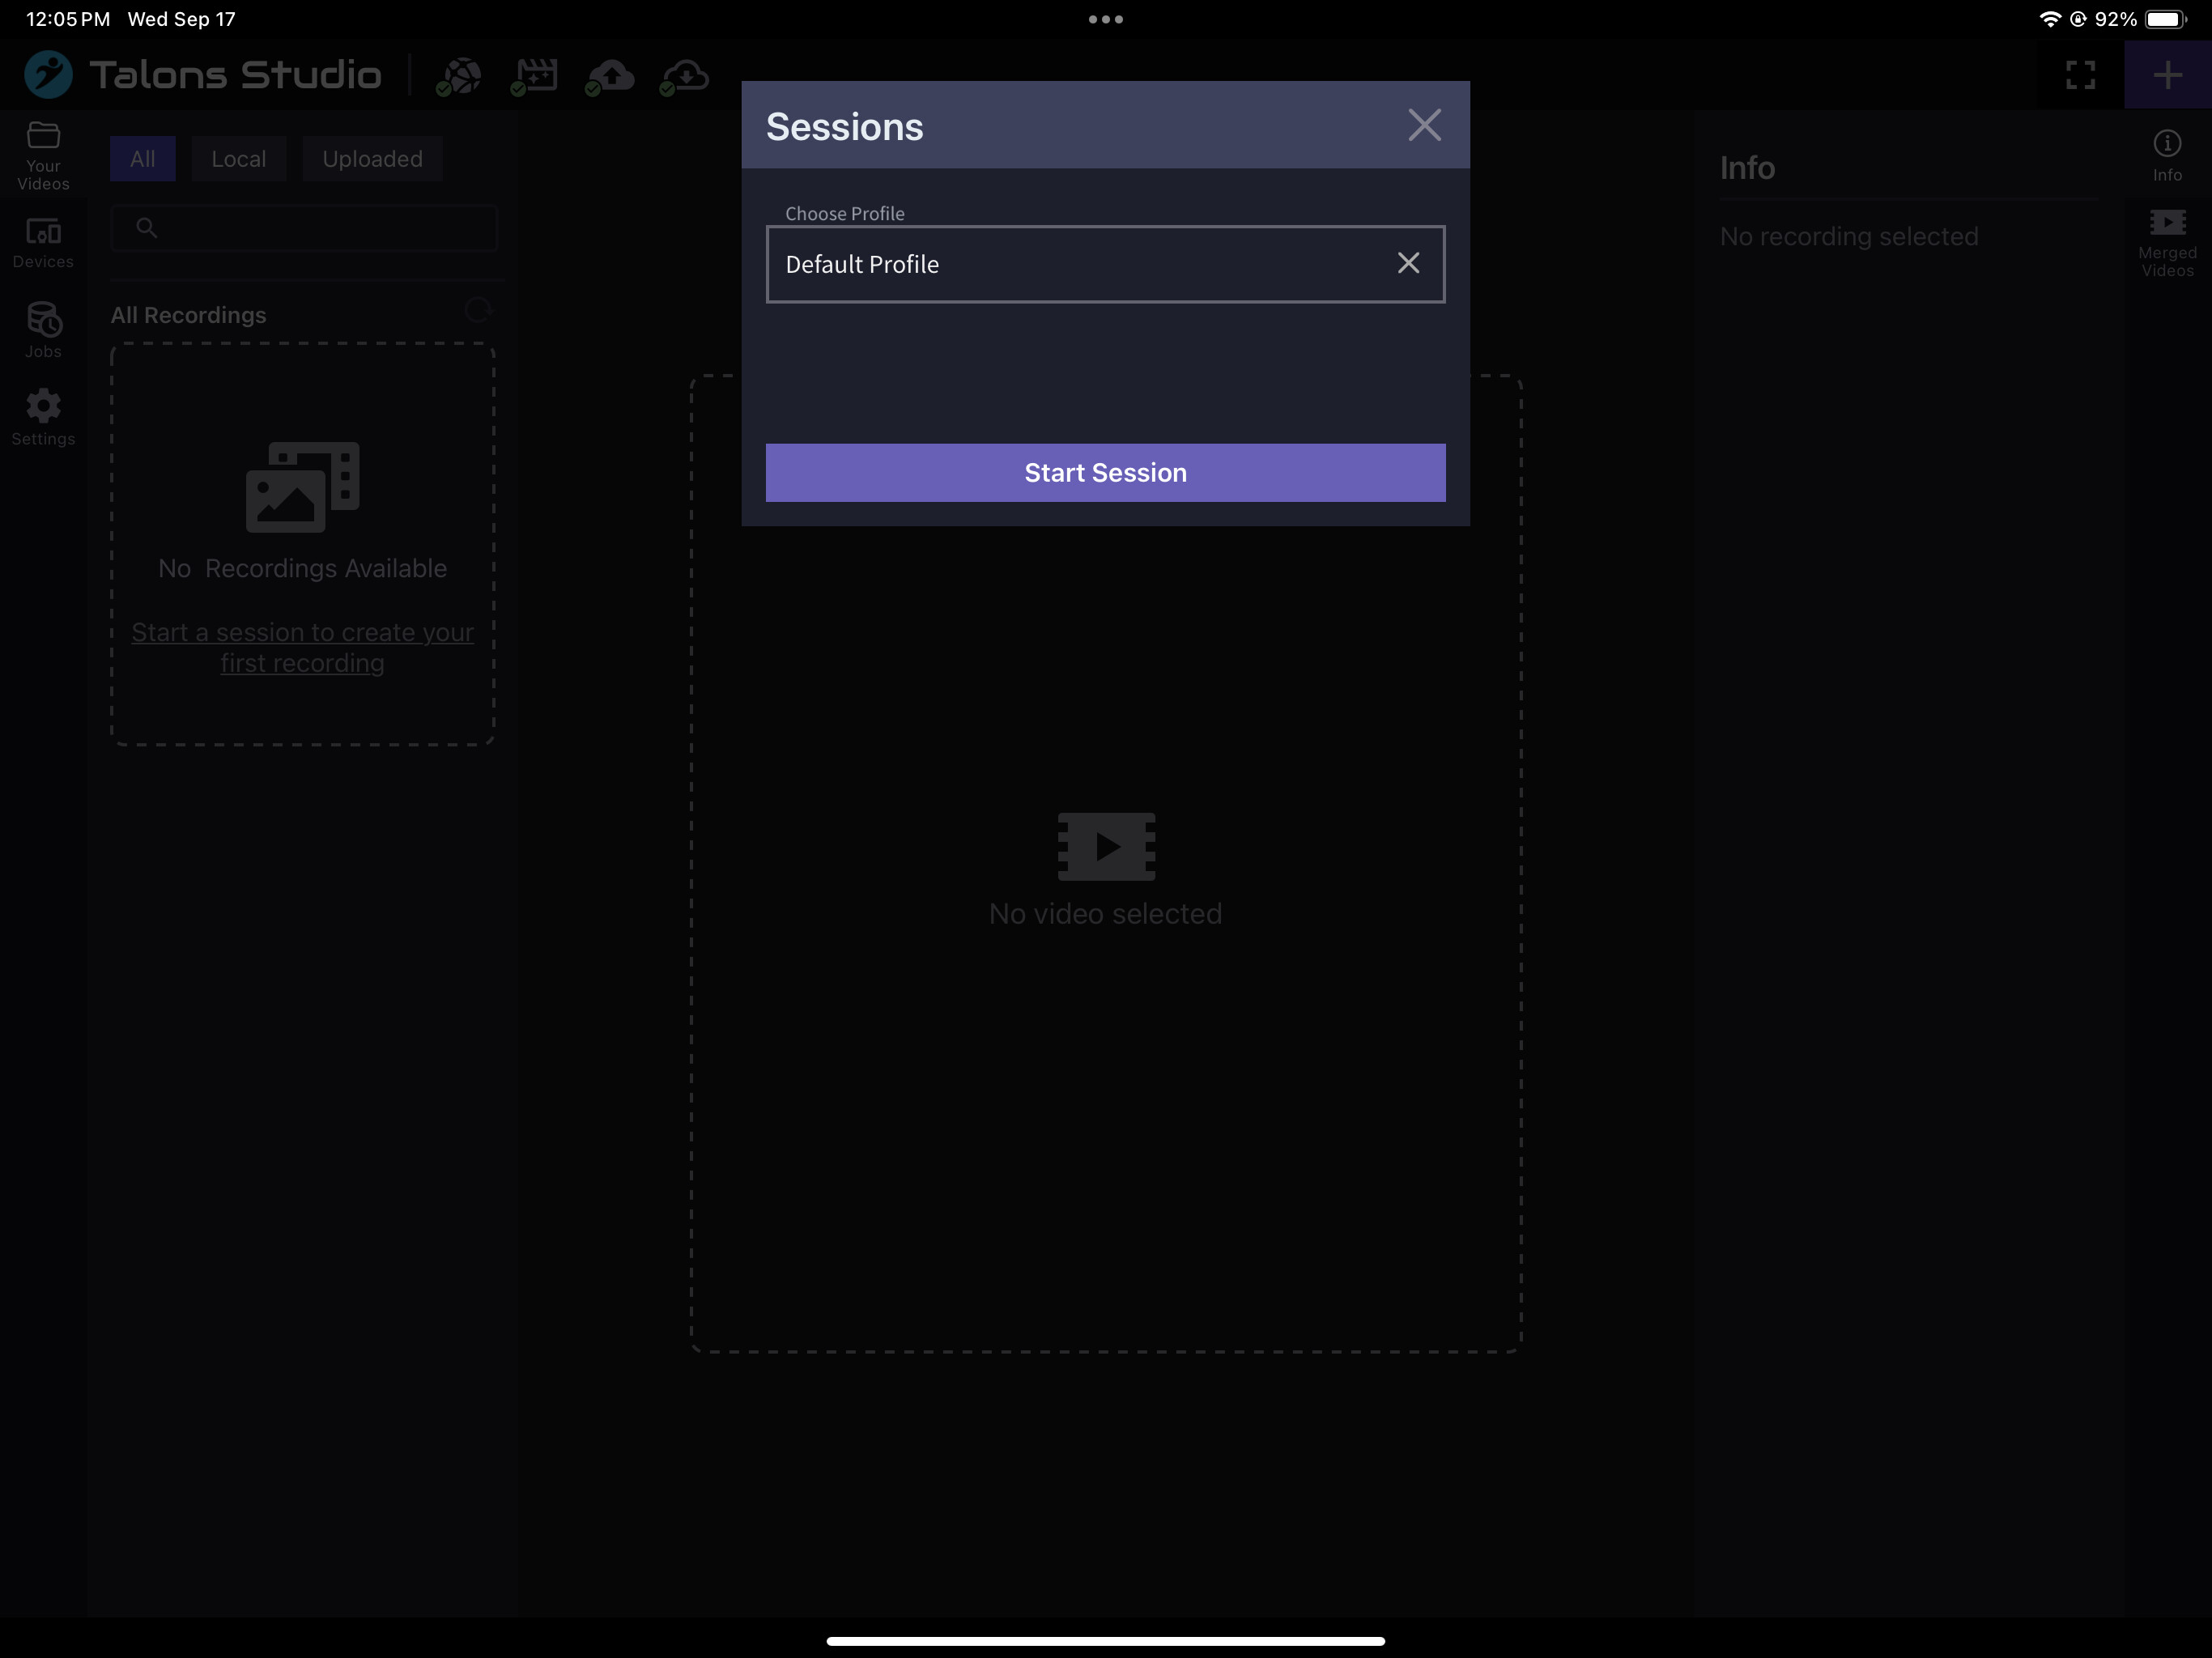
From the Dashboard, tap the “+” button (top right).
This opens the Start Session modal → click Start Session to begin.
Step 2 – Connect Your Phone
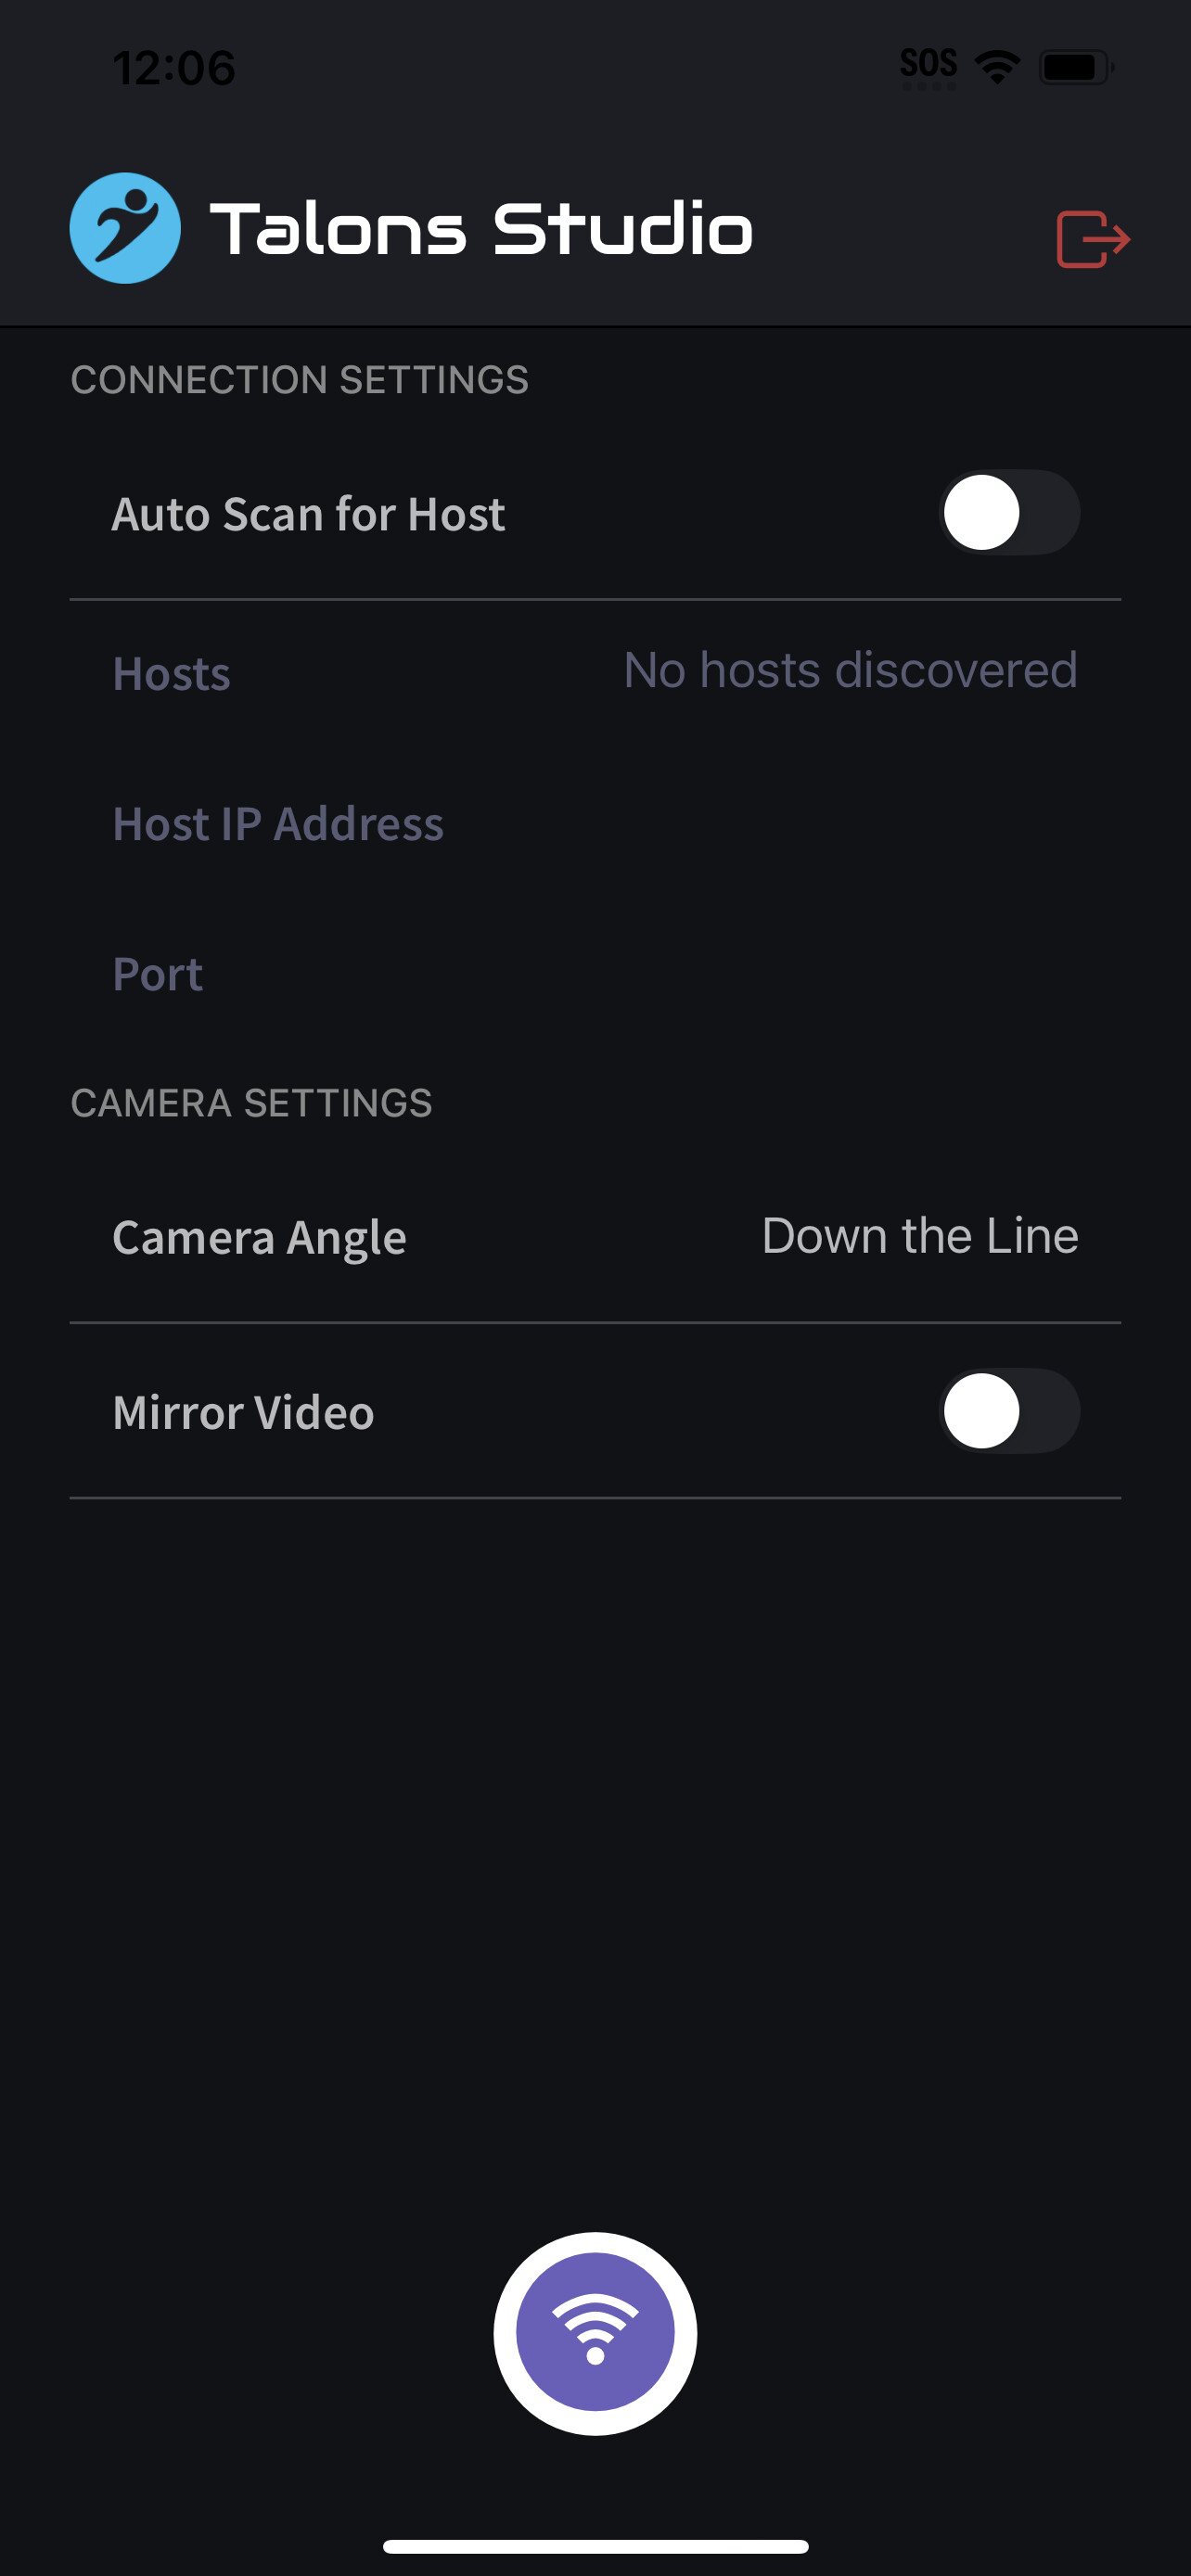
On your phone, open the app and tap the Connect button.
Step 3 – Confirm Camera Connection
Your phone’s camera should now appear on the screen.
- If it doesn’t, check the Settings menu → make sure “Auto Assign Cameras” is enabled.
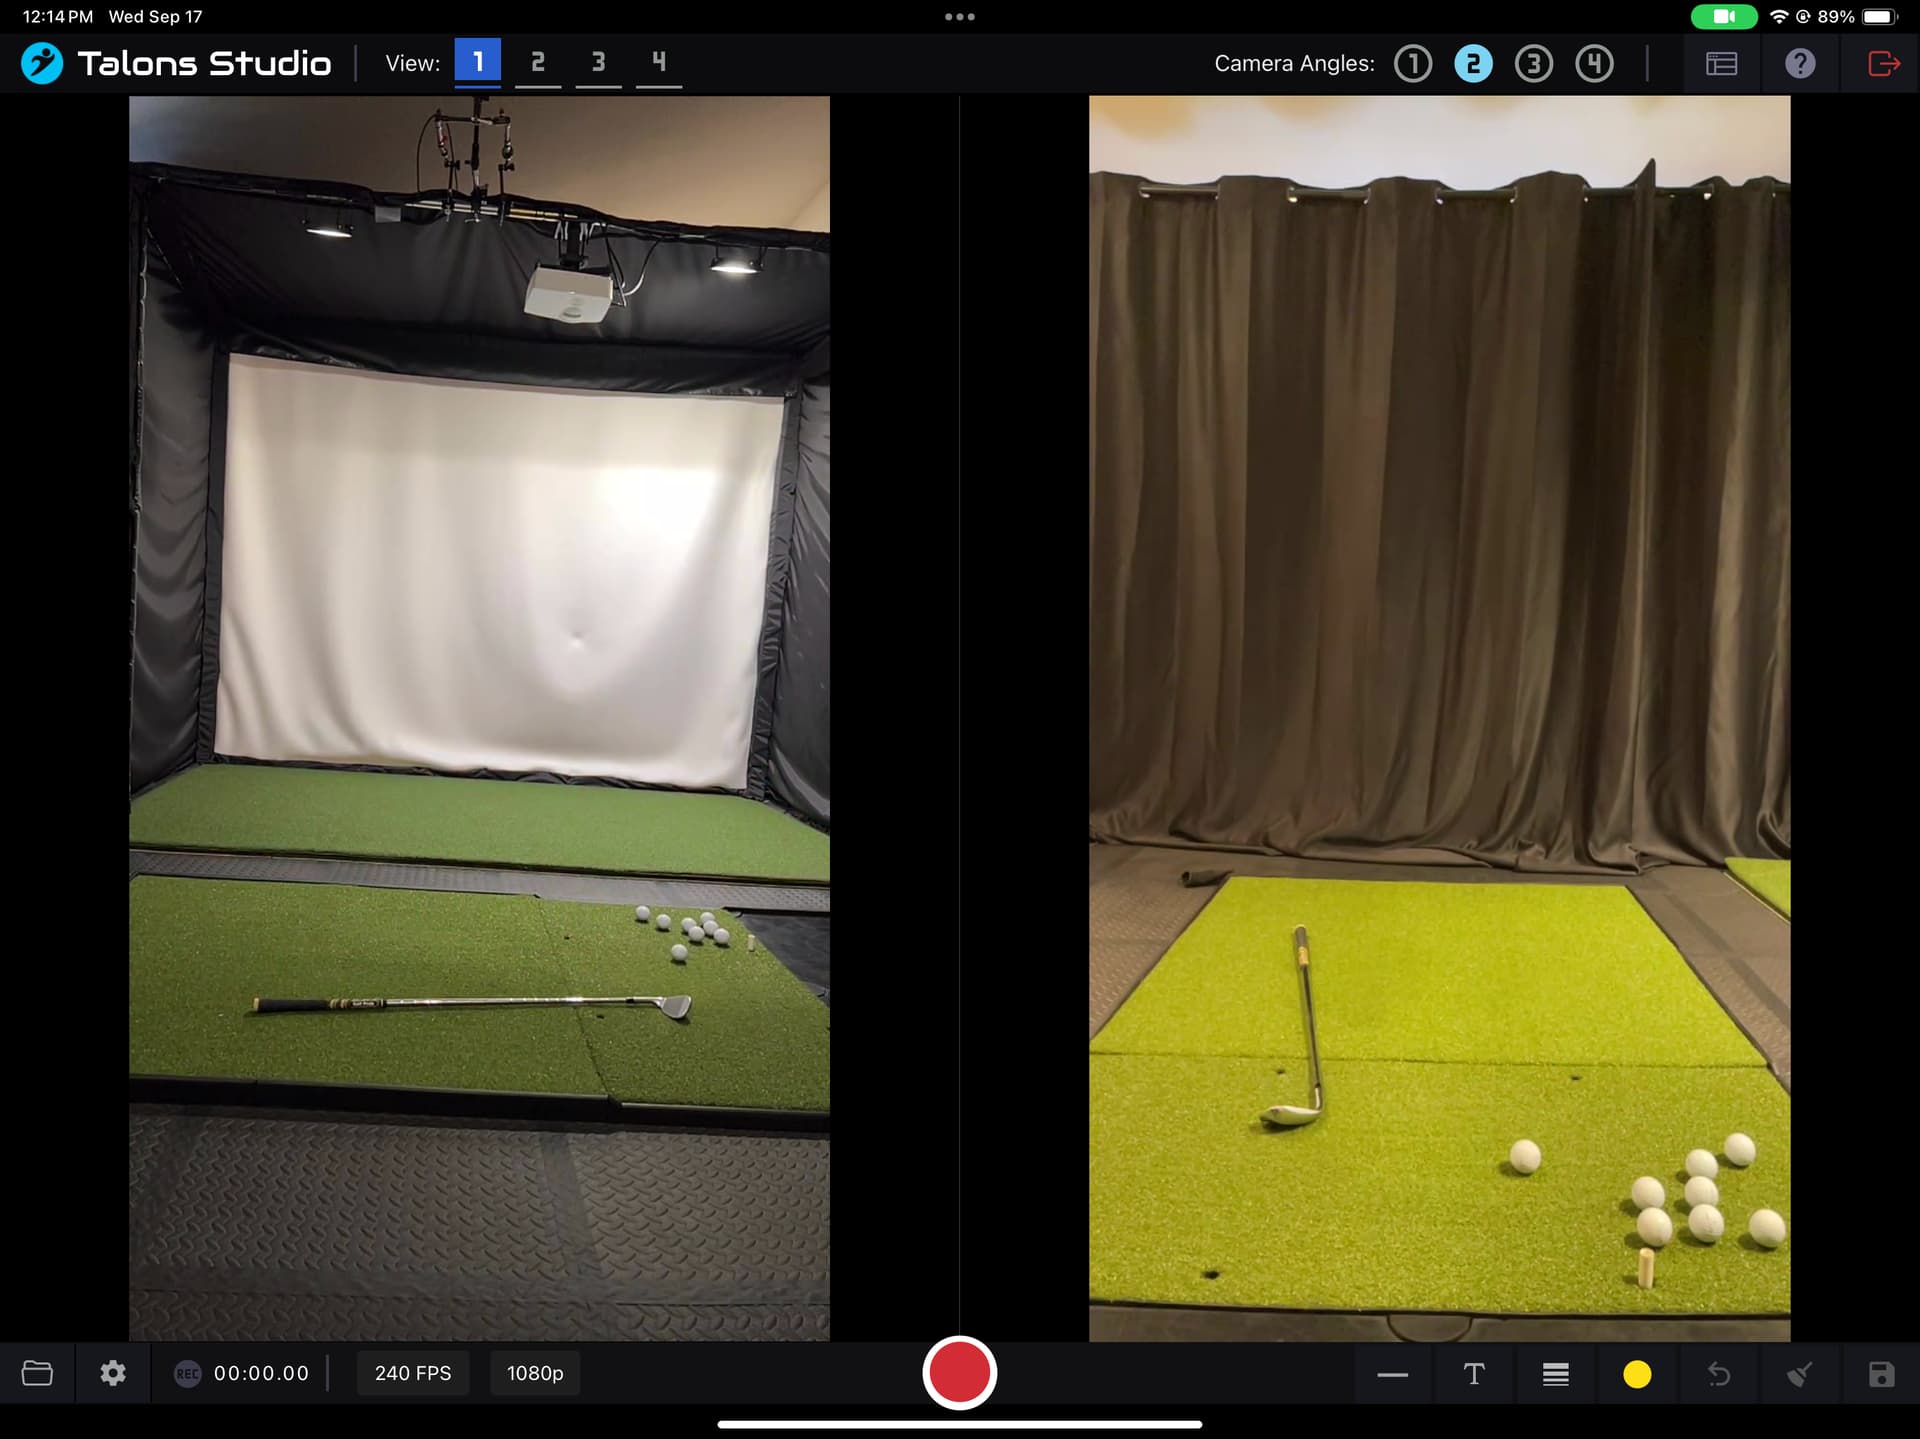
Step 4 – Check Camera Zones
Each view has numbered camera zones (small camera icons).
- When all zones are assigned, the Record button turns red.
- If zones are missing cameras, the button will stay grey.
Step 5 – Adjust Recording Settings (Optional)
You can change:
- Frame Rate (FPS)
- Resolution (720p / 1080p)
- Other recording preferences
Important Things to Know
-
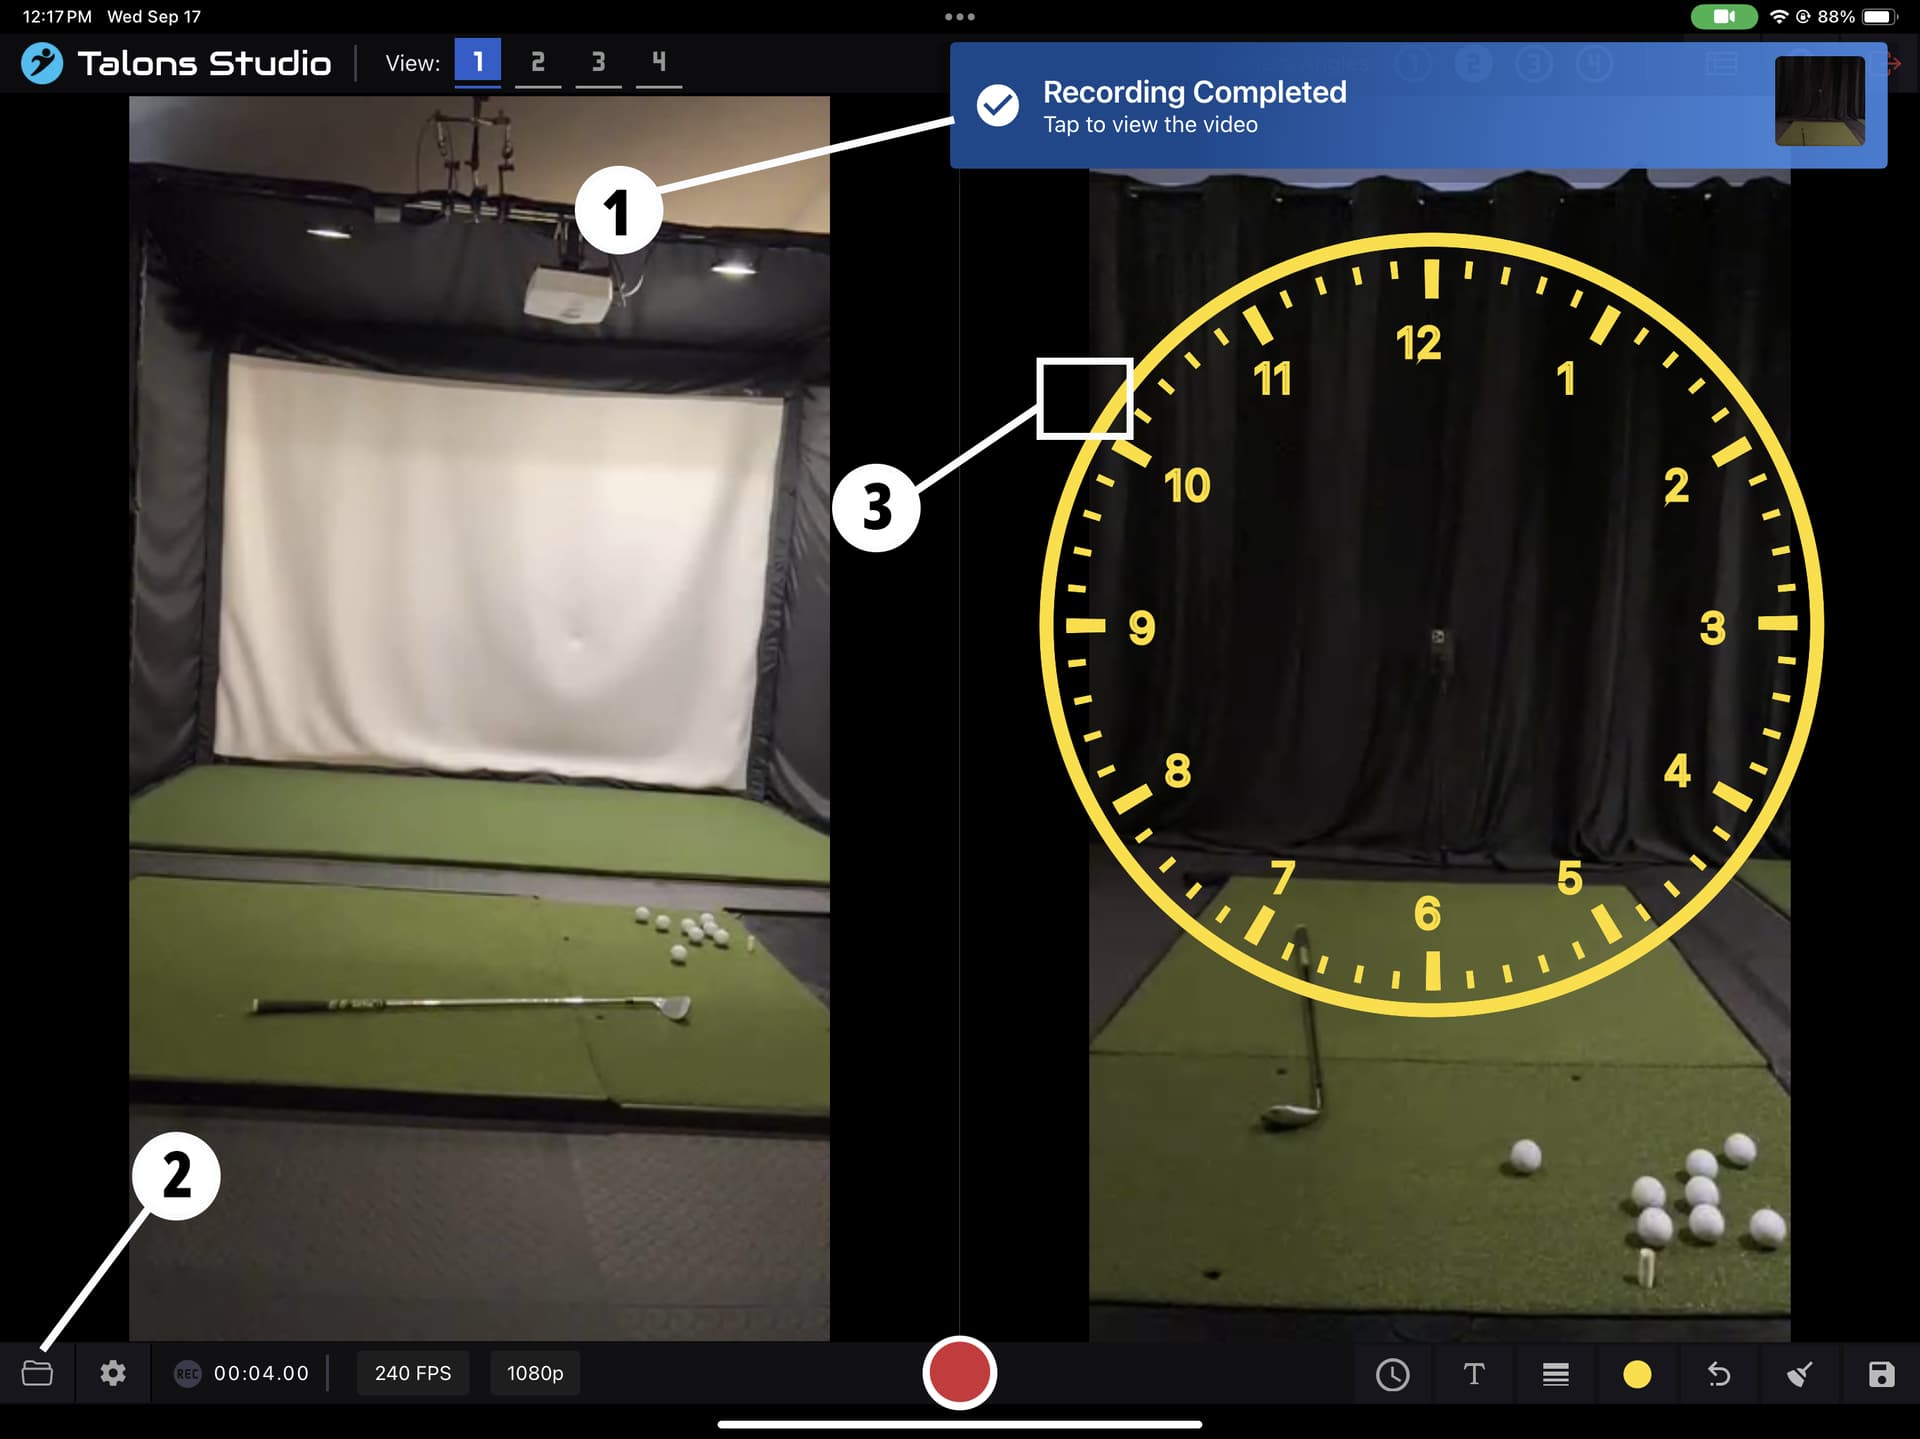
After finishing your recording you have 2 ways to view the recording
- Click on the notification
- Click on the folder button on let bottom left
-
Using overlays, there is an invisible handle use to move them such as the dial
- Currently there’s no way to know where they are but for example the handle is by the 10 o’clock as pictured above. Angle overlay can be move at the vertex.
- Shapes that you can expand are Clock Dials, Circles, Rectangle/Squares by using 2 fingers to pinch or expand
- Lines, arrows, and angle overlays can be extended at their tips.
- We will add ways to make this easier later.
-
Connected cameras that are not assigned to the View are shown here.
- Use this button to toggle the panel.
- You can use this panel to swap camera angles or remove them from the view

Known Issues
- Record button stays grey after recording
- This may mean cameras are stuck.
- Go to Settings → Reset Cameras to fix the issue.
![]() That’s it — you’re ready to record sessions with multiple devices!
That’s it — you’re ready to record sessions with multiple devices!